Winterizing an above-ground pool means preparing the water, protecting equipment from freezing, and fitting a cover that can be checked through the off-season. It does not automatically mean emptying the pool.
Start with the manual for your exact pool, pump, filter, skimmer and cover. A permanent rigid-wall pool and a seasonal portable pool may need different treatment. This checklist helps you organize the work; the manufacturer’s instructions decide the water level, fittings and storage method.
Before you start: Do not fully drain an above-ground pool for winter unless its manufacturer explicitly requires draining and disassembly for that model. Do not copy an in-ground pool’s water-lowering instructions. If the manual is missing or unclear, ask the manufacturer or a qualified pool professional before removing water.
First decide: close in place or dismantle?
Find the model number rather than relying on the pool’s appearance. Check whether the manual permits the pool to stay assembled in your expected winter conditions. Intex’s regional support guidance describes both assembled winterization and disassembly, illustrating why “above-ground” alone is not enough information. Instructions for your model and country take priority over a generic guide.
If your manufacturer requires seasonal dismantling, follow that procedure, including permitted water disposal, drying, folding and storage. The steps below are for a pool that is allowed to remain assembled. They are not permission to leave every soft-sided pool standing through a freeze.
In the United States, Canada, the United Kingdom and Australia, plan around local weather rather than a calendar date. A cold inland winter creates different equipment risks from a mild coastal winter. Ask locally about disposal rules before draining any water; do not assume a storm drain, lawn or sewer is an approved destination.
When should you close an above-ground pool?
Schedule closing before freezing weather can affect exposed plumbing and equipment. Pentair identifies recurrent near-freezing or freezing conditions as a reason to winterize. Do not wait for ice to form before arranging professional help. For the equipment itself, see how to winterize a pool pump and filter.
Water temperature is useful context, but there is no single closing temperature that overrides all pool and chemical instructions. Record the actual water temperature and the forecast. If you stop swimming while the water is still relatively warm, continue normal cleaning, filtration and chemistry checks until closing; a cover is not a substitute for preparing the water.
Give yourself enough time to clean, test, make any necessary adjustments, and complete the label’s circulation intervals while the system still operates. Closing on the last evening before a freeze leaves little room to correct a problem or obtain a missing plug.
Your preparation checklist
- Pool and equipment manuals, plus the cover instructions.
- A suitable water test kit with usable reagents.
- Brush, net, vacuum and tools approved for the liner.
- Only the chemicals justified by testing and your closing plan.
- Correct model-compatible winter plugs or skimmer protection.
- A sound winter cover and the manufacturer’s securing hardware.
- Label-required protective equipment and a dry storage location.
- A plan for winter checks, including who will inspect after storms.
Set out the fittings before starting. A plug that looks close to the right size is not evidence that it will seal. Photograph connections and label removed parts so spring reassembly does not become guesswork.
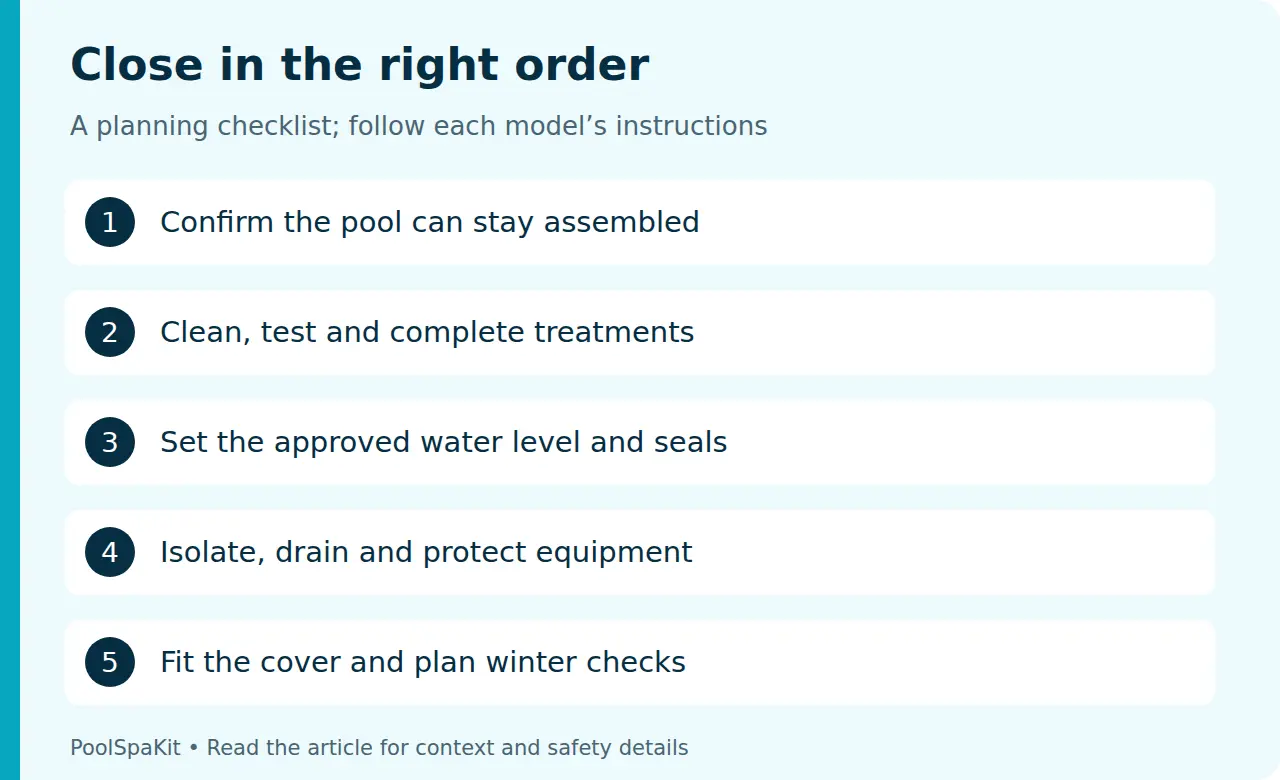
Step 1: remove debris and clean the pool
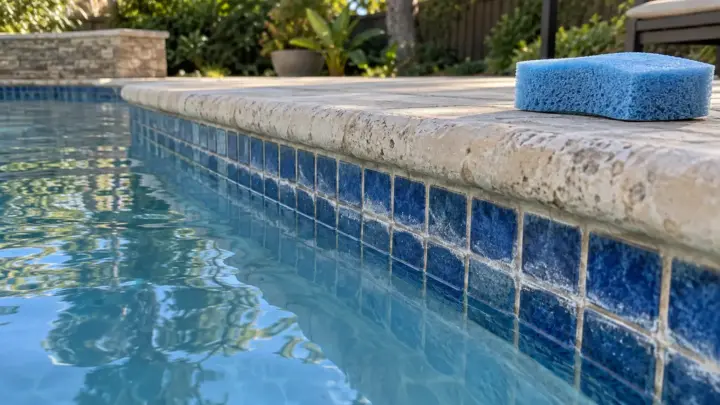
Skim leaves, brush the walls and floor with a liner-compatible brush, and vacuum debris. Empty baskets and clean the waterline using products approved for the surface. Do not scrub a vinyl liner with an abrasive tool simply because the deposit is stubborn.
Inspect while the surfaces are visible. Note suspected leaks, loose fittings or damage and arrange repairs rather than hiding them under the cover. If the water is green or cloudy, resolve the cause before closing. The practical goal is clear, clean water, not a chemical treatment poured over an unresolved problem.
Step 2: test and balance before shutdown
Measure sanitizer and pH, plus the parameters your pool and treatment system require, such as total alkalinity, calcium hardness and stabilizer. Record the readings, water temperature and approximate pool volume. Use the equipment and chemical guidance to decide which adjustments are necessary.
CDC identifies chlorine and pH control as important defenses against swimming-related illness. Its recommendations concern water used for swimming; they are not a universal winter-closing recipe. A closed pool’s balance and treatment plan must also suit its liner, equipment, source water and products.
Adjust separately, circulate for the interval stated on each label, and retest where directed. If a result seems implausible, check test technique and reagent condition before adding more product. A final set of recorded measurements is more useful at reopening than a note saying “added the usual kit.”
Step 3: complete the appropriate sanitizer or closing treatment
Follow the closing procedure compatible with your sanitizer system and the actual product labels. Pentair’s general guidance recommends shocking before other winterizing chemicals; that does not establish one shock dose for every formulation or pool. Confirm the sequence, compatibility and waiting intervals for the products you have.
Do not assume an algaecide, stain treatment and clarifier are all essential simply because a kit contains them. Ask what each addresses in your water. Never substitute one sanitizer system’s closing recipe for another without approval.
Chemical safety: Never mix chlorine with acid, different chlorine products, or other chemicals in one container. Add products separately as their labels direct, with the specified circulation time. Only predissolve when the label explicitly instructs you to do so. Wear the stated protective equipment, work in a ventilated area, and keep chemicals secured away from children and pets.
Finish treatments that require circulation before isolating and draining the equipment. Do not pour a concentrated chemical into a disconnected skimmer or stopped filter system as a shortcut. If the required circulation cannot be provided, obtain product-specific advice.
Step 4: set the approved water level and protect openings
This is the point where a generic checklist must give way to the pool and skimmer instructions. Some configurations use a compatible sealing plate or winter plug; others require a limited water reduction. The cover design may also affect the prescribed level.
There is no safe universal “drain this many inches” rule. Confirm the required level, seal arrangement and sequence before disconnecting hoses. Plan how to prevent uncontrolled water loss through an open fitting. Do not leave a valve or plug arrangement based only on someone else’s pool.
Skimmer protection must address both the connection to the pool and any water that can collect in the housing. Use the specified winterizing device, plate or drainage arrangement. A household bottle is not an automatically approved replacement for a purpose-made component.
Have a professional assess buried or rigid plumbing that requires line clearing. This guide deliberately does not give a compressor pressure or an improvised blowout procedure: filters and plumbing can be dangerous when pressurized, and the correct method depends on the system.
Step 5: shut down, clean and drain the equipment
Once required treatment circulation is complete, follow the equipment’s shutdown and isolation procedure. Prevent a timer or controller from restarting equipment during work. Relieve pressure exactly as the filter manual directs before opening anything; never loosen a pressurized filter clamp.
| Component | What to confirm in its manual |
|---|---|
| Pump and removable hoses | Isolation, drain locations, complete water removal and permitted storage conditions. |
| Sand filter | Cleaning or backwashing procedure, draining and exact winter valve position. Do not assume every valve has the same setting. |
| Cartridge filter | Pressure release, cartridge cleaning, tank drainage and storage. Cartridge filters are not routinely backwashed. |
| DE filter | Cleaning and media handling before winter storage; use its own instructions rather than a sand-filter procedure. |
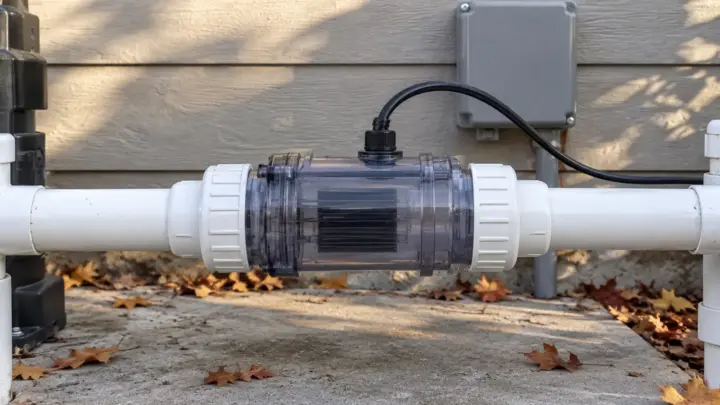
| Heater, salt cell and other accessories | Separate shutdown, drain and storage steps, including work reserved for a qualified technician. |
Pentair’s Clean and Clear Plus manual, for example, specifies a particular winterization procedure and warns about trapped-air hazards. Those instructions demonstrate why equipment draining needs a model-specific checklist. Opening one drain does not prove that every connected component is empty.
Store removable items clean and dry in conditions their manufacturers permit. Keep plugs and seals labeled with the equipment, and note any parts that need replacement. Do not add automotive antifreeze to pool plumbing. If a line-protection product is specified, use only the type and method approved for that system.
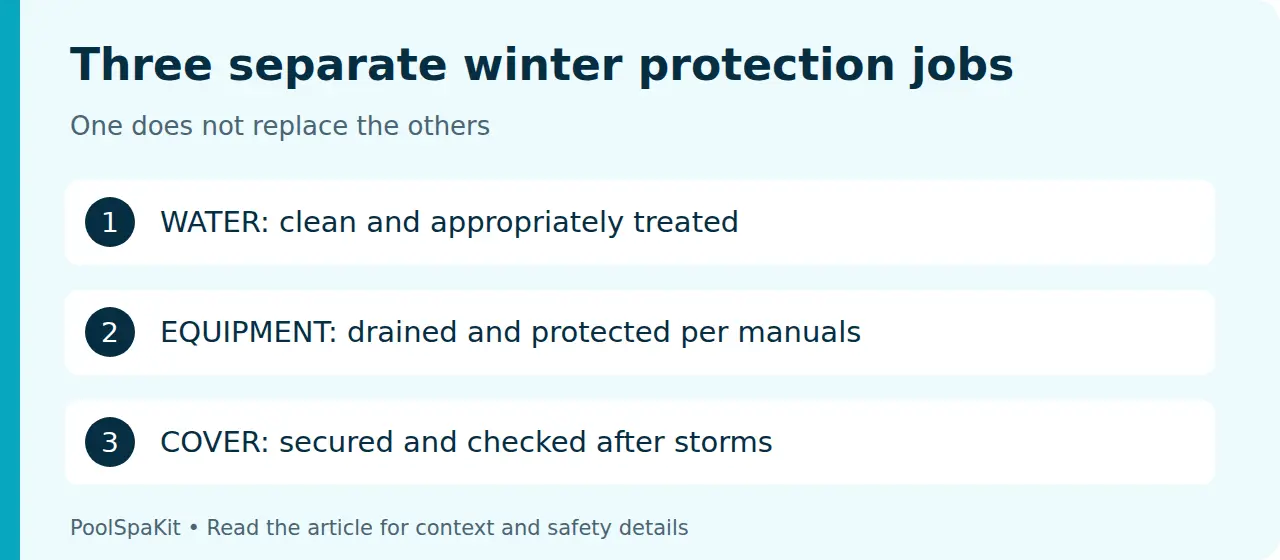
Step 6: install and secure the winter cover
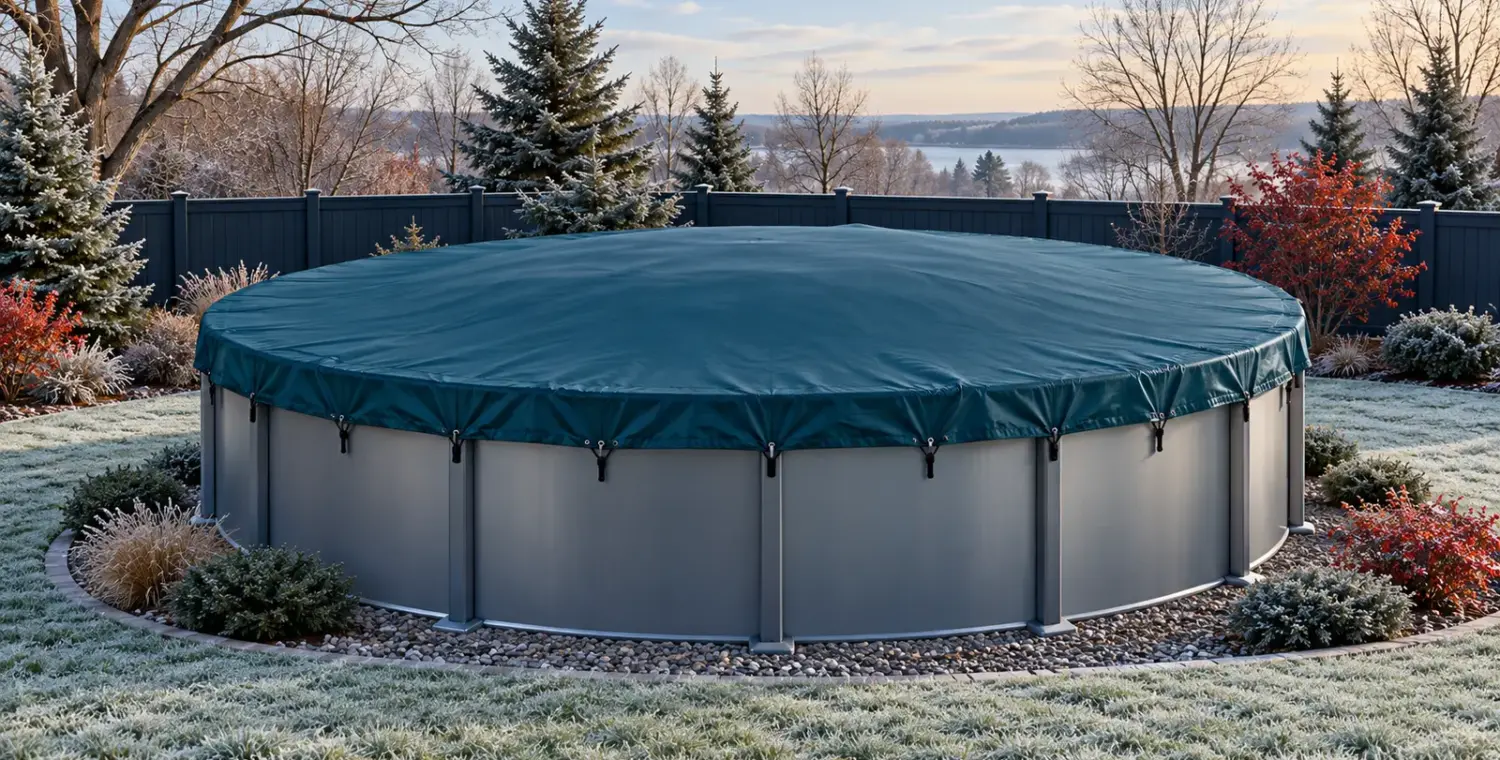
Inspect the cover for holes, worn seams and damaged securing points. Fit it using its own instructions, with the prescribed overlap and hardware. Use an air pillow only where the pool or cover instructions call for one, and follow their inflation and positioning guidance.
A pillow does not make the cover a platform for heavy snow, and a winter cover is not automatically a certified safety cover. Intex specifically distinguishes its pool cover from a safety cover. Maintain barriers and remove ladder access as your pool instructions require; do not let anyone walk on the cover.
Set up any cover-water removal arrangement according to the cover manufacturer. Avoid a hose or pump placement that could accidentally remove pool water beneath the cover. Do not attach improvised heavy weights that pull against the pool wall.
Step 7: inspect during winter and prepare for reopening
Make checks after significant wind, rain or snow, when access is safe. Look for displaced securing hardware, unusual cover sag, visible water loss or damage. Follow the cover’s instructions for managing accumulated water and snow; do not chip ice off the liner or climb onto the cover.
If a check suggests a leak, do not repeatedly lower the pool as a substitute for diagnosis. Ask the manufacturer or installer how to protect the structure and liner. Keep a record of what changed and when.
Leave a reopening note listing water measurements, treatments, disconnected components and stored parts. Before restarting in spring, reassemble according to the manuals, inspect for freeze damage, restore the required operating water level, and verify safe startup and water chemistry. A clear-looking pool still needs testing before swimming.
Common closing mistakes to avoid
- Emptying a permanent pool because an in-ground guide says to drain.
- Using the same water level or plug arrangement for every skimmer.
- Covering dirty or inadequately treated water.
- Adding products together, or after circulation has already stopped.
- Leaving water trapped in pumps, hoses, heaters or filter housings.
- Assuming a winter cover provides child-access protection.
- Forgetting winter inspections and spring reassembly records.
Frequently asked questions
Can I leave an above-ground pool full over winter?
Use the water level specified for your pool, fittings and cover. “Full” and “drained” are both too vague to be a safe instruction. If the model must be dismantled, follow its separate storage procedure.
Do closing chemicals prevent frozen equipment?
No. Chemical treatment and physical winterization address different tasks. Follow the equipment manuals for draining and line protection even when you use a closing kit.
Research checked September 30, 2026. We only claim hands-on testing when we’ve actually tested the product ourselves.
Sources and references
Manufacturer guidance is model-specific; public-health guidance does not set a universal winter dosing recipe.
- CDC: Home Pool and Hot Tub Water Treatment and Testing
- CDC MMWR: Pool Chemical Injuries in Public and Residential Settings
- National Pesticide Information Center / Oregon State University: Pool and Spa Chemicals Fact Sheet
- Intex regional support: Getting the pool ready for winter
- Pentair: How To Winterize a Pool
- Pentair: Clean and Clear Plus Cartridge Filter Installation and User’s Guide