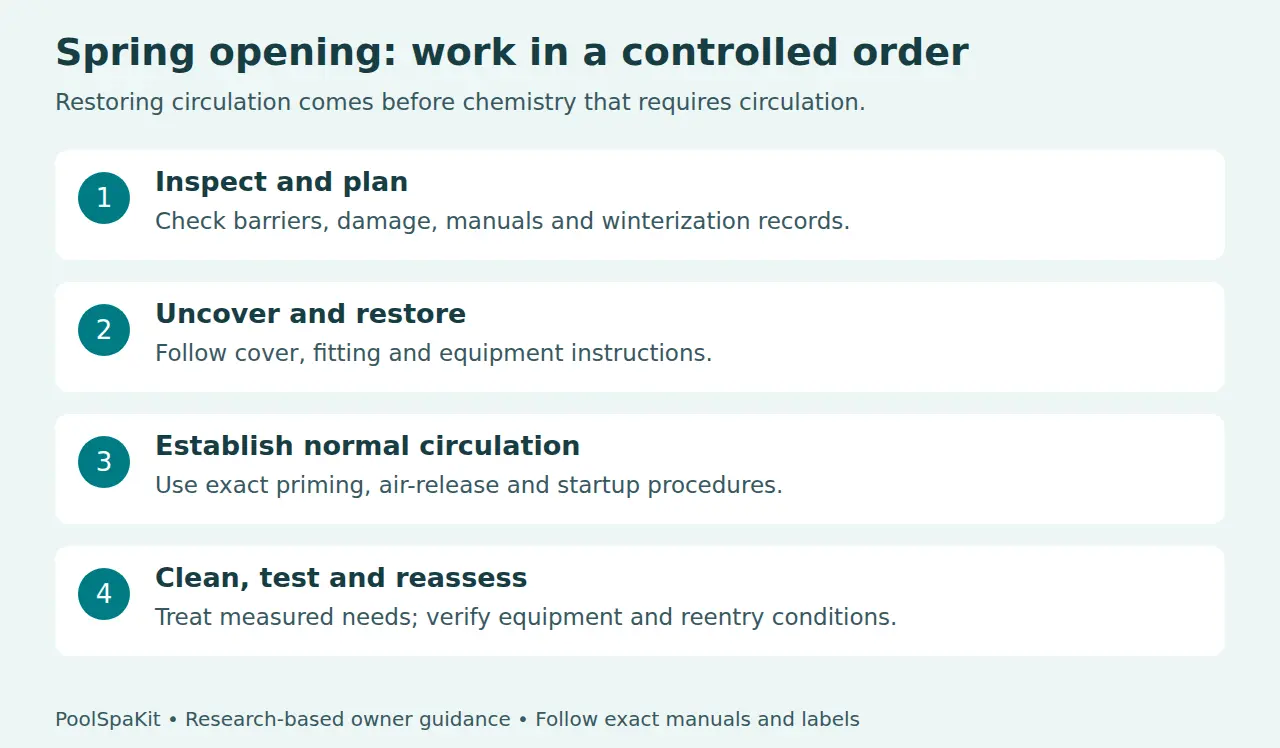
Open a pool after winter by restoring it in a controlled order: inspect the site, remove the cover, reverse the winterization work, establish reliable circulation, clean and test the water, then verify that both water and equipment are ready for swimming. Buying a spring chemical kit is only one possible part of that process.
This checklist is for an existing residential pool returning to service. It does not cover commissioning new plaster, structural repairs or installing equipment. Keep the manuals for your actual pool, pump, filter, heater, cover and sanitizer system beside you. A pool that stayed assembled and one that was dismantled for storage need different opening work.
Before starting: Keep swimmers out during opening. Do not open a pressurized filter, run a pump without its required water supply, improvise electrical repairs or mix chemicals. If you find damage or cannot identify the winterization arrangement, stop and arrange qualified help.
1. Plan the opening around conditions and your records
Choose a period when you can inspect the pool, complete the equipment work and return for follow-up tests. “Spring” falls at different times in the US, Canada, UK and Australia; a calendar date alone does not tell you whether freezing conditions have ended or equipment can operate safely. Ask your local service provider about remaining freeze risk.
Find the closing notes and photographs. List disconnected hoses, removed drain plugs, winter plugs, stored baskets and any equipment bypassed for the season. For an above-ground pool, our above-ground winterization checklist can help identify the sorts of tasks that may need reversing. It cannot identify what someone actually did to your pool.
If a portable pool was dismantled, follow its assembly instructions instead of treating it as an uncovered permanent pool. Intex’s regional storage guidance illustrates the distinction between assembled winter storage and dismantling; it is not approval to leave every model outside all winter.
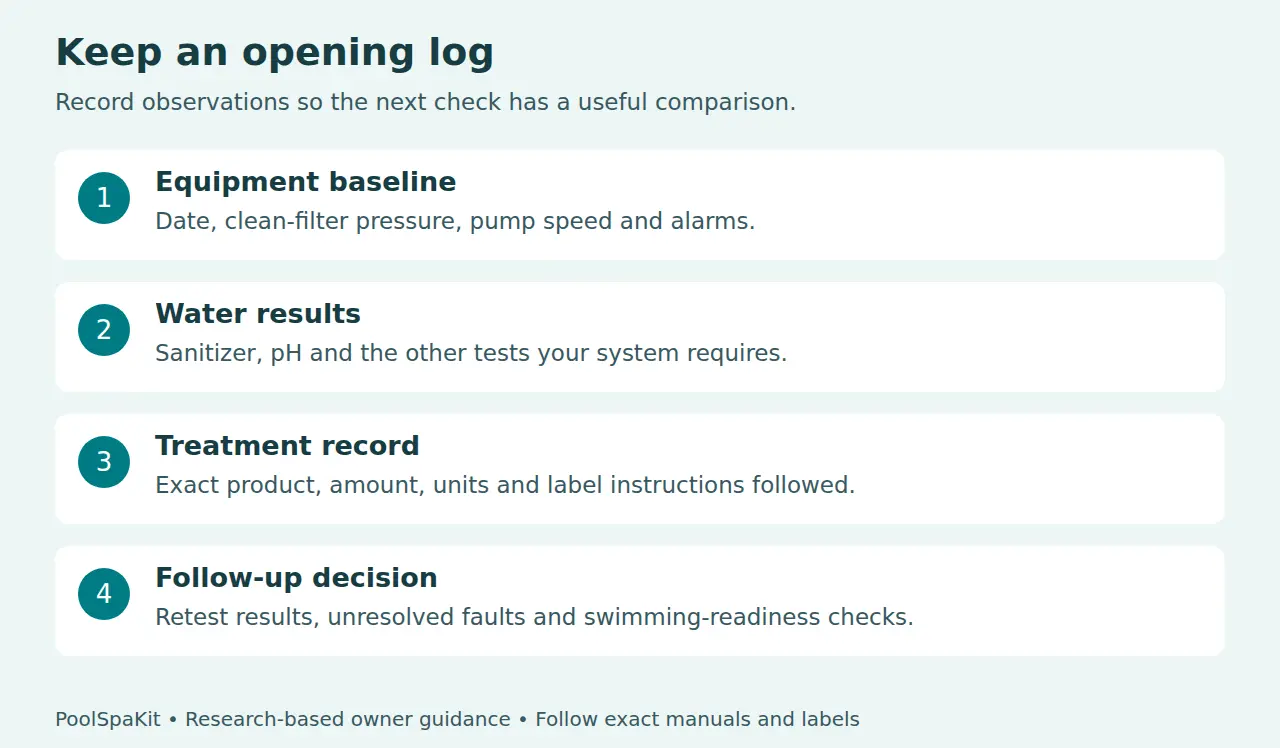
Gather the test kit, usable reagents, cleaning tools, manuals and correctly specified replacement seals or fittings. Keep a separate opening log for observations, treatments and repeat readings. Avoid buying a long list of chemicals before seeing the water and measuring what it needs.
2. Inspect the pool area before removing protection
Check access barriers, gates, deck condition and the working area around the equipment. Restore damaged protection before uncovering the pool. CDC recommends isolation fencing with self-closing, self-latching gates and close supervision around water; check your local barrier requirements rather than copying a US specification worldwide.
Look for obvious water loss, damaged pool walls, displaced fittings, cracked equipment housings and signs of frost damage. Photograph concerns before handling them. Do not assume a small crack will seal itself when pressure returns. A pool opening appointment is a sensible time to arrange inspection of damage rather than test it by switching everything on.
Allocate supervision separately from the opening work. Someone occupied with a cover, hose or pump is not automatically watching children closely. Keep tools and stored fittings away from the walking route, and leave access to emergency equipment clear.
3. Remove and store the cover using its instructions
Use the cover maker’s removal method. Address accumulated water and debris as directed before lifting a solid cover; organize help where its size or weight demands it. Aim to keep dirty runoff and loose leaves out of the pool rather than tipping everything in and treating it afterward.
Clean, inspect, dry and store the cover as its instructions specify. Note damaged anchors, straps or panels now, while the problem is visible. A general winter cover is not automatically a safety cover: Intex explicitly distinguishes them in its guidance.
Do not lower the pool water simply because the cover is difficult to remove. Draining decisions depend on the pool structure, groundwater conditions and disposal rules. If unusual water loss or a damaged liner makes the opening uncertain, obtain advice before adding or removing large amounts of water.
4. Restore winter fittings and equipment
Work through the closing record one item at a time. Restore the normal operating fittings, remove the applicable winter protection and reinstall the specified drain plugs, baskets and stored components. Check seals against the manual; use only the approved lubricant and replacement parts. Do not force threads or copy another model’s valve arrangement.
Before opening equipment, shut down and isolate power, prevent automatic restart and relieve pressure exactly as the manufacturer directs. Pentair’s Posi-Clear RP guide warns that trapped air can cause violent lid separation. Its lock-ring procedure is specific to that filter; another clamp or tank needs its own instructions.
Confirm that equipment is assembled correctly before attempting startup. Electrical, gas, structural and unfamiliar plumbing work belongs with an appropriately qualified professional. A general checklist cannot determine whether a heater, light or bonding connection survived winter safely.
Bring water to the pool manufacturer’s operating level before pump startup. Check that the intended suction and return paths are open according to the documented system layout. Do not experiment with unidentified valves, particularly where a closed return path could leave equipment pressurized. If the level keeps falling after startup, use our guide to telling evaporation from a pool leak before assuming there is a plumbing problem.
5. Start circulation and establish a baseline
Use the pump’s priming procedure and the filter’s startup instructions together. Follow the prescribed air-release steps and stand clear of the filter during startup. Stop if the system does not establish normal water flow, develops leaks or behaves differently from the manual’s expected sequence.
Once the system operates normally with a clean filter, record the gauge pressure and pump speed or operating mode. Pentair explicitly requires the pump RPM alongside the original pressure for variable-speed operation. This makes later readings useful: pressure at one speed cannot be compared blindly with pressure at another.
Record return flow observations and any control alarms too. Hearing the motor is not a sufficient completion check. If equipment compatibility is uncertain, the pool pump flow-rate guide explains what needs checking against component ratings. Increasing speed is not a universal remedy for poor circulation.
6. Clean the pool and take reliable tests
Remove accessible leaves and debris with suitable tools, and clean the surfaces using methods approved for the pool finish. Vacuum or use a compatible cleaner as directed. Keep watching the equipment as debris is collected, and service the filter when its manual calls for it.
After the required circulation, take a sample using the test manufacturer’s method. Record sanitizer, pH, total alkalinity and calcium hardness; check cyanuric acid for a relevant chlorine system and salt where required by a generator. Arrange additional testing when fill water or staining history suggests metals.
CDC advises testing chlorine and pH at least twice daily, with more testing during heavy use, and following the kit instructions. It also warns that chlorine above 10 ppm can bleach a DPD test and produce a misleading low result. An unexpected zero after treatment deserves verification with an appropriate method, not an automatic repeat dose.
If the water is persistently cloudy, use our cloudy-water troubleshooting guide to separate testing, filtration and treatment questions. This opening checklist does not diagnose every discoloration or contamination event.
7. Treat measured problems in the approved sequence
Compare results with the pool surface, equipment and treatment program’s requirements. Follow those instructions for the adjustment sequence, circulation intervals and retesting. Do not raise every parameter because a package describes its contents as an opening kit.
Read each actual label before use. Never mix chlorine with acid or combine different chemicals in a container. Handle one product at a time, wear its specified protective equipment and predissolve only when directed. Where the label requires predissolving, add the chemical to water, never water to the chemical.
There is no universal spring shock dose or guaranteed clearing deadline. Confirm the water volume, units and product concentration before any calculation; US gallons and imperial gallons are different units. If instructions conflict or do not address the observed problem, ask the manufacturer or service provider before treatment.
8. Check a saltwater system separately
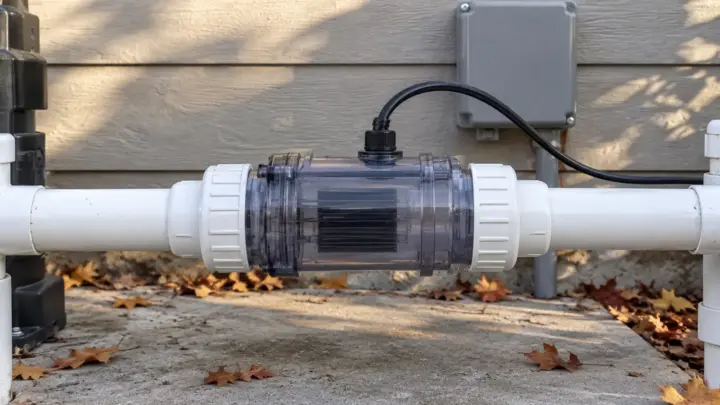
A salt chlorine generator still requires chlorine testing. A powered display does not prove the cell is producing enough sanitizer. Pentair’s IC15 manual describes cold-water standby, a flow interlock and startup demand that can exceed the cell’s output; the thresholds and response are model-specific.
Check the exact generator manual for startup, salinity testing and temperature restrictions. Confirm that the cell is installed as required and that alarms are resolved. Do not add salt solely to clear a cold-water warning or choose a generic boost setting as a substitute for measured chlorine.
9. Verify readiness and set the ongoing routine
Opening is complete only when equipment operates normally, the water is clear enough for safe observation, required tests meet the applicable care program and all treatment-label reentry conditions are satisfied. Do not use appearance, a passed day or a running pump as permission to swim.
Record final readings, the clean-filter baseline, work completed and remaining service items. Make the next test and equipment inspection part of your routine. Keep barriers functioning and provide appropriate supervision whenever the pool is accessible. If you cannot verify a water or equipment condition, keep the pool closed to swimmers and obtain help.
Research checked September 30, 2026. We only claim hands-on testing when we’ve actually tested the product ourselves.
Sources and references
Manufacturer procedures apply to the cited model and region. Public-health guidance is not a universal opening dose or equipment commissioning procedure.