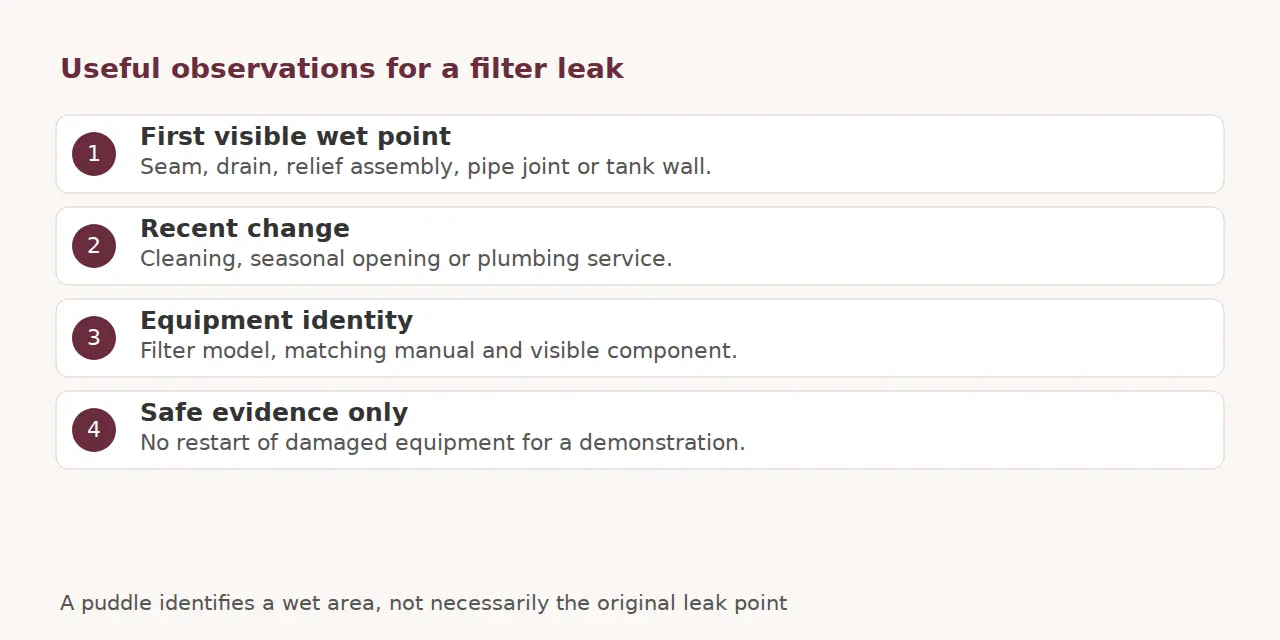
If a pool filter is leaking water, stop the pump safely and identify the first visible wet point from the outside. Common places to inspect are the tank closure, drain plug, air-relief assembly and pipe connections. A wet patch underneath the filter alone won’t tell you which part needs repair.
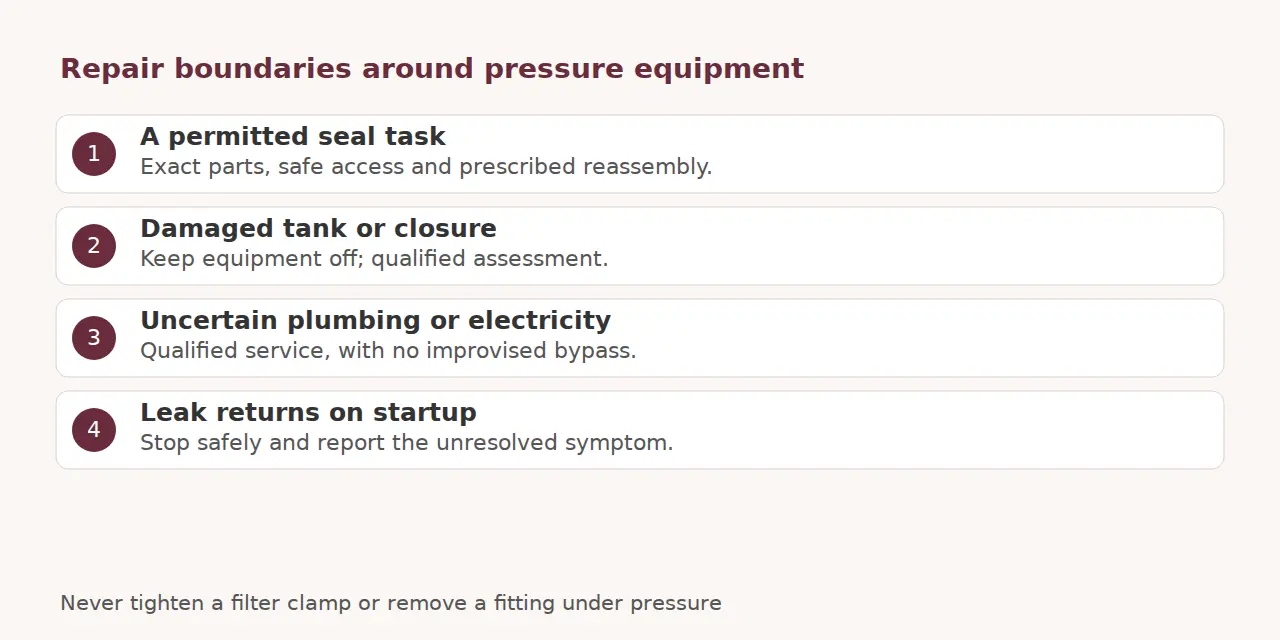
Never tighten a leaking clamp or remove a gauge, plug or fitting while the system is pressurized. A cracked tank, damaged closure, spraying leak or water near electrical equipment needs qualified assessment. Leave the equipment off rather than running it to make a better demonstration.
Start with shutdown, not a wrench
Use the equipment’s safe shutdown instructions and prevent automatic restart. Before any owner-permitted access, isolate power and relieve all pressure through the prescribed procedure. Stay clear of uncertain pressure equipment.
Manufacturer safety guidance explains the risk from compressed air trapped inside a filter. A small drip does not make that pressure hazard harmless. If electrical safety is uncertain, keep away from the wet equipment and obtain qualified help rather than approaching controls through water.
Record where the water first appeared
From a safe position, note whether the leak began after cleaning, winter opening, a plumbing change or normal operation. Save any observation already made: top seam, bottom drain, relief assembly, pipe joint or tank wall. Photograph visible evidence without restarting unsafe equipment.
Water travels down surfaces before reaching the ground. Treat the puddle as a starting clue, not proof that the bottom of the tank is cracked. Give the technician the earliest wet location you observed, filter model and recent service history.
Common leak points and likely repair paths
| Visible location | What needs checking | Safe next action |
|---|---|---|
| Lid or tank seam | Seal cleanliness/condition, closure installation, vessel damage | Stop; arrange exact-manual inspection |
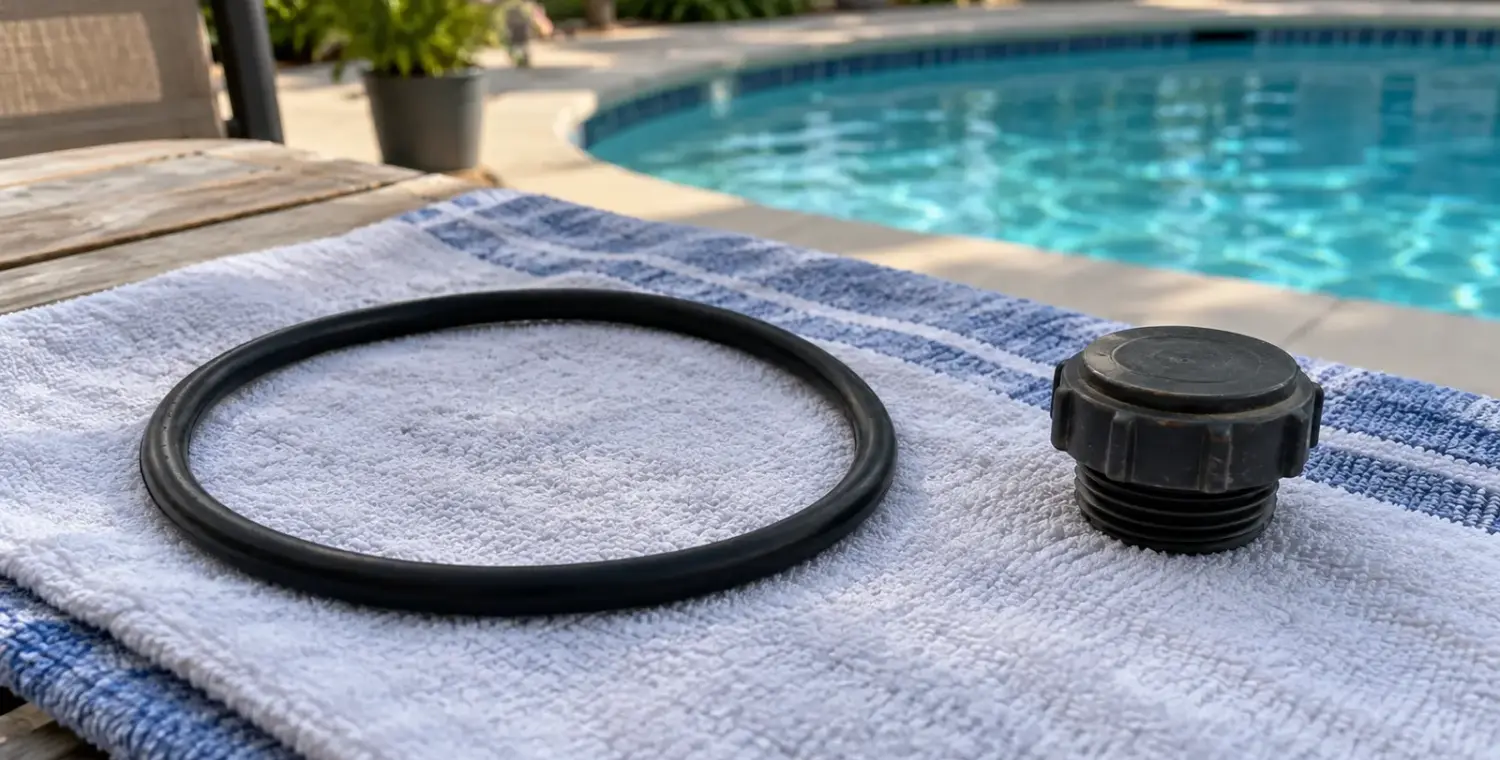
| Drain plug or cap | Correct seal, plug and port condition | Assess only after complete safe isolation and pressure relief |
| Relief valve or gauge area | Assembly seals, connections and damaged components | Leave removal and uncertain faults to service |
| Pipe union or tank connection | Seal, fitting, connection or surrounding damage | Qualified repair if cracked, strained or unclear |
| Tank wall or lid material | Crack or structural damage | Keep off; qualified replacement assessment |
The FullFloXF troubleshooting guide lists dirty or damaged O-rings, incorrect clamp installation and cracked tank components as distinct leak causes. That supports investigating the closure as an assembly rather than assuming every leak needs extra tightening.
The Clean & Clear Plus parts and service guide shows why the drain, relief assembly and plumbing connections need their own component identification. Match parts to the actual filter; an apparently similar O-ring or cap isn’t a reliable selection method.
What a sensible fix involves
A permitted seal-service task starts with safe access, checking the mating surfaces and using the correct replacement and approved lubricant where specified. Reassembly follows the exact closure instructions. If you’ve never completed that procedure, have a professional demonstrate it.
Cracked pressure vessels need proper replacement assessment. Glue, tape and improvised patches are unsuitable ways to return a damaged tank to operation. Leave stressed plumbing, damaged ports and recurring closure leaks to qualified service.
For the cited Clean & Clear Plus design, a leak between the tank halves during startup requires immediate shutdown. Follow your filter’s complete restart procedure and stop if the leak returns. Repeated tightening while running creates a hazard and leaves the cause unresolved.
Check the whole repair result
After qualified repair or a completed permitted procedure, record normal operation and pressure at the established pump setting. If the gauge or return flow remains abnormal, use the filter-pressure troubleshooting guide and report those symptoms alongside the leak.
EPA’s water-efficiency guidance identifies leaks as water loss worth correcting. Continue to track the pool level after the equipment repair; another leak or ordinary evaporation could explain a separate level change.
If circulation was interrupted, review water condition before reopening the pool. Continue sanitizer and pH testing under homeowner public-health guidance. A dry equipment pad is a repair result, not a water-quality result.
Research checked 2026-10-03.